Start on Stable Ground
Surfing is mostly reading water. Standing up is the last skill in the chain. Here is how to understand conditions, stay out of trouble and practise a pop-up that actually works.
Practice versus instruction
Some things in this guide you can practise anywhere: paddling posture, the pop-up on your living-room floor, and the habit of watching the sea before you go in. Other things depend entirely on the beach in front of you: where rips form, which rocks hide at high tide, and when a sandbar starts producing waves that close out all at once.
That second category is why your first few sessions should be with a qualified instructor at a lifeguarded beach. National bodies such as the International Surfing Association (ISA) and Surfing England set coaching standards, and an accredited school will put you in the right zone on the right board.
Rule of thumb: technique can be learned from a page. Local conditions cannot. If a lifeguard or instructor tells you something that contradicts this guide, follow them.
Reading conditions in plain words
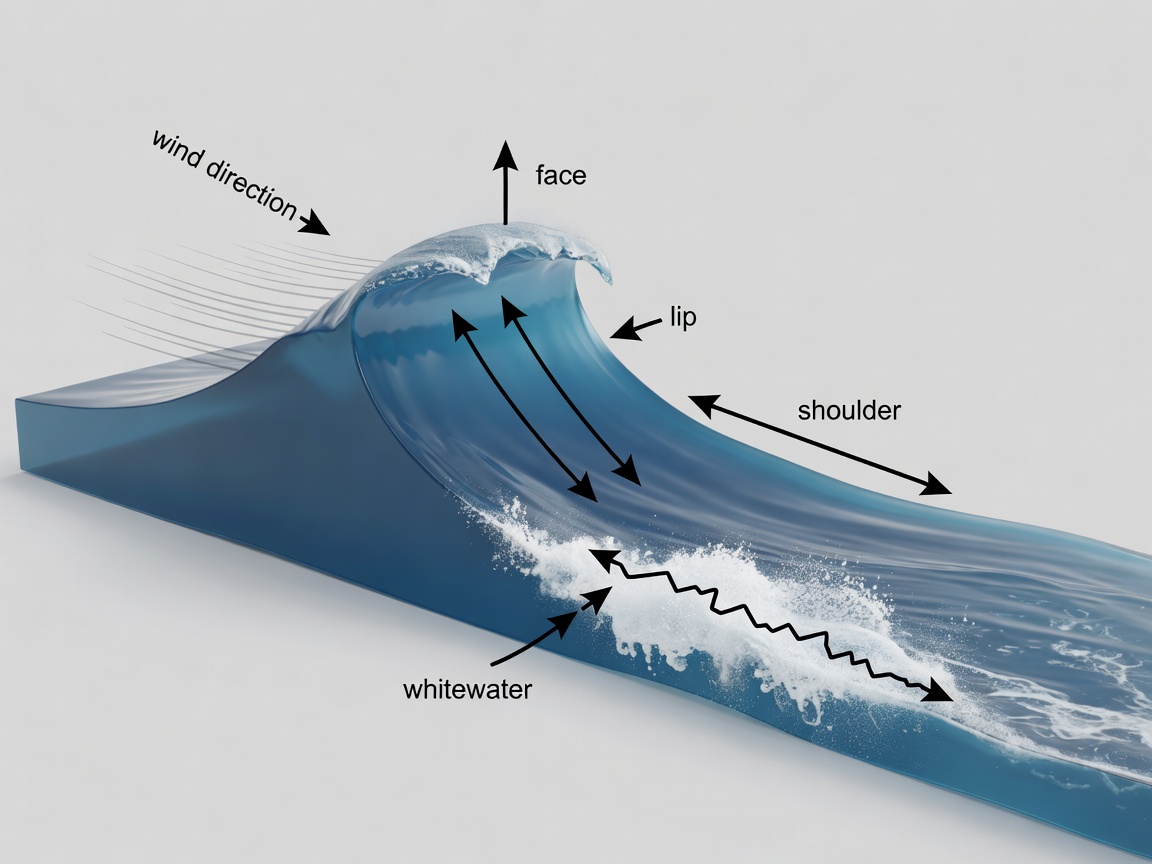
Surf reports and forecasts use a handful of terms that sound technical but describe simple things. Learning them helps you decide whether a day is for surfing or for watching.
- Swell
- Energy travelling across the ocean from distant wind. Swell height tells you roughly how big waves will be.
- Period
- Seconds between waves. Longer periods carry more power, so a small swell with a long period can still surprise you.
- Offshore wind
- Blows from land to sea and tidies wave faces. Strong offshores can push you out, so take care.
- Onshore wind
- Blows from sea to land and makes choppy, messy waves. Often fine for whitewater practice.
- Tide
- The rise and fall of the sea. Many beaches work best at a particular stage, and some become dangerous at another.
- Close-out
- A wave that breaks along its whole length at once, leaving no open face to ride.
Rip currents: spot them, escape them
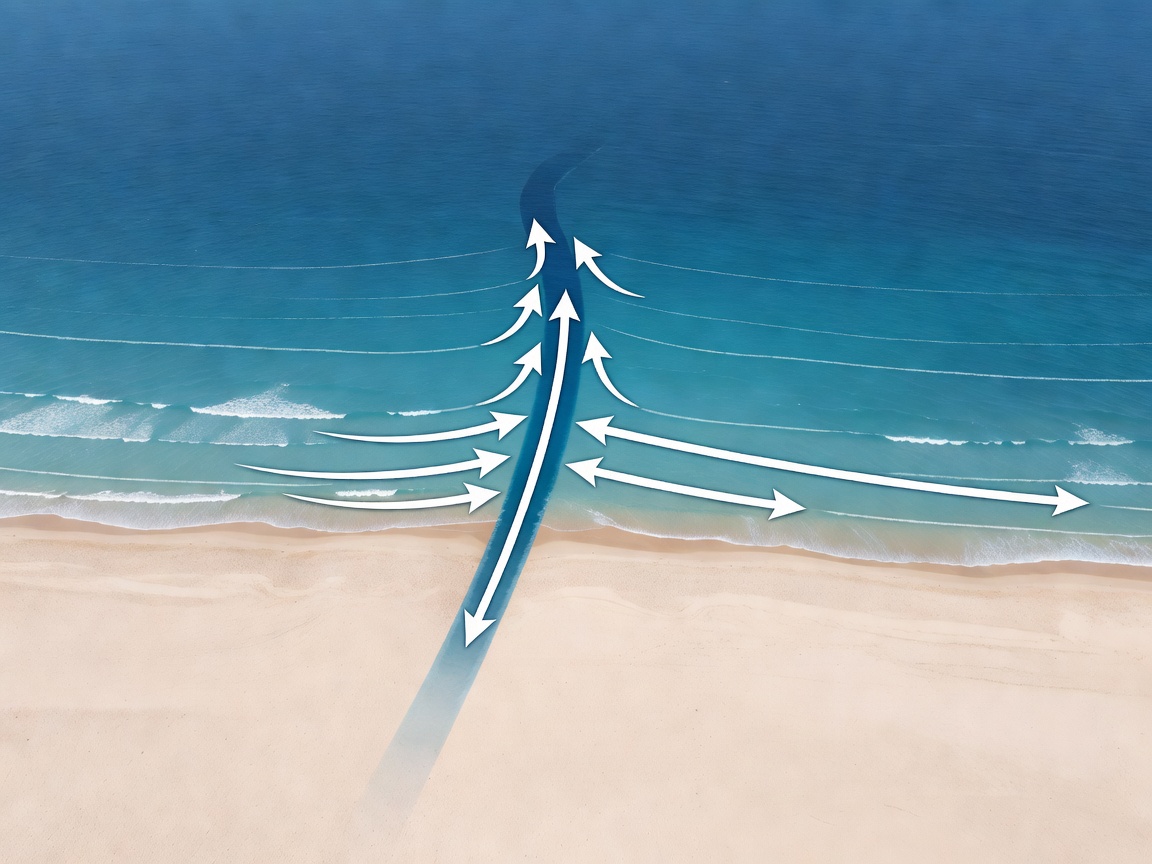
A rip is a strong, narrow current flowing away from shore. From the beach it often looks like a gap in the breaking waves, a patch of darker or rippled water, or a line of foam and debris drifting out to sea. Beginners sometimes choose it because it looks calm.
If you are caught, do not fight straight back toward the beach. Stay on your board, which is a flotation device. The US National Weather Service advises swimming parallel to the shore to escape the pull, then angling back in. The RNLI adds: if you are in trouble, raise a hand and shout for help.
Read more from the National Weather Service and the RNLI beach safety pages.
Etiquette that keeps everyone safe
Closest to the peak goes
The surfer nearest the breaking part of the wave has right of way. Everyone else pulls back.
Don't cut in front
Taking off ahead of a rider already on the wave is called dropping in. It causes collisions.
Hold on to your board
Throwing your board away to dive under a wave sends a heavy object toward people behind you.
Go wide, not through
Paddle out around the breaking zone, not through the path where people are riding.
Six steps from lying down to riding
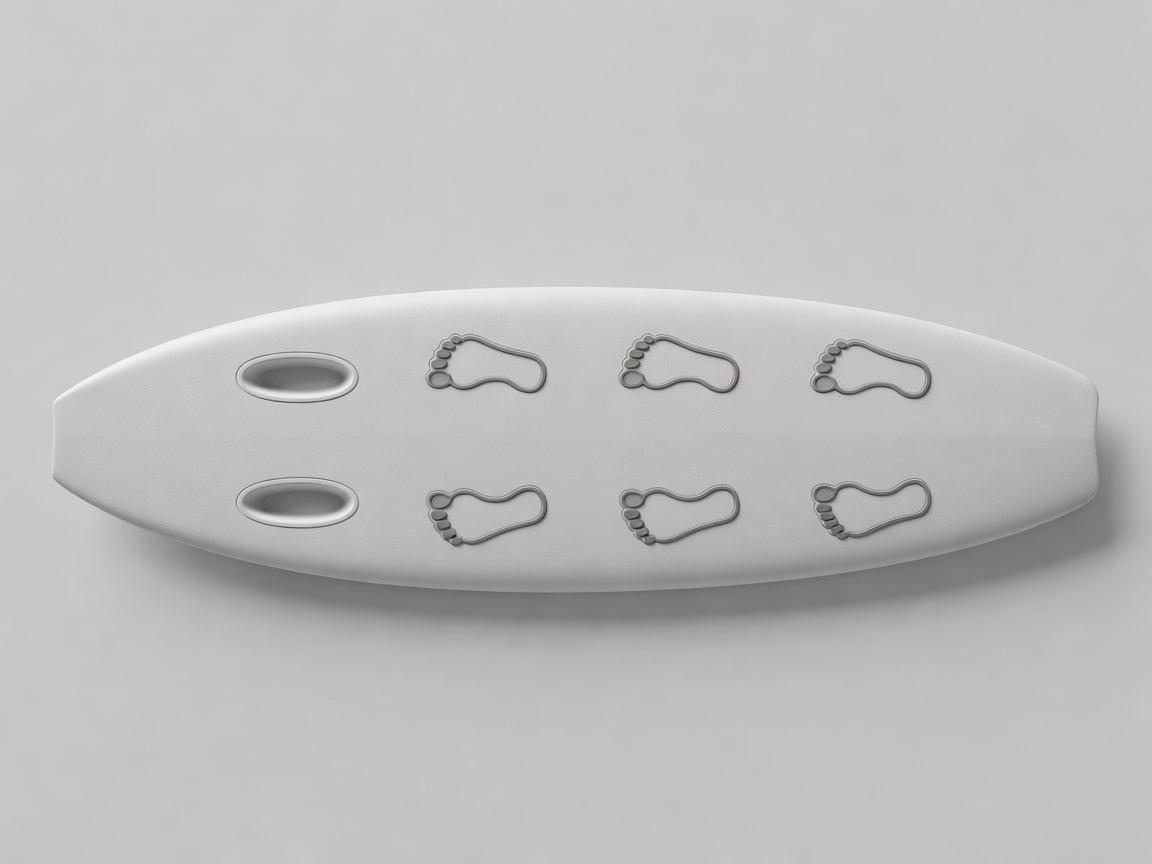
- Position yourself. Lie centred with the nose just clear of the water. Too far forward and it digs in; too far back and you stall.
- Paddle with purpose. Long, alternating strokes, fingers relaxed, chest lifted slightly. Look where you want to go.
- Choose broken foam. Point the board straight at the beach and start paddling as the whitewater approaches.
- Pop up in one motion. Hands flat beside your ribs, push up, bring your front foot forward between your hands and your back foot across the tail.
- Stand low and look up. Knees bent, arms relaxed, eyes toward the beach, not your feet.
- Fall flat. Step or fall away from the board, land flat in the water and cover your head as you come up.
Practise step four on dry land twenty times before each session. On the sand it should feel automatic.
Plan your first session
Use this checklist the evening before and again when you reach the beach.
| When | What to check | Why it matters |
|---|---|---|
| Day before | Book a lesson or confirm lifeguard cover | Local instruction covers hazards no guide can predict |
| Day before | Swell height, period, wind and tide times | Small, short-period swell and a mid tide usually suit learners |
| At the beach | Watch for 10–20 minutes | You will see rips, sets and crowds before you are in them |
| At the beach | Find the flags and the board zone | Surfing outside the right area puts swimmers and you at risk |
| In the water | Stay in waist-deep whitewater | You can stand up between waves and reset calmly |
| Afterwards | Rinse board and wetsuit | See Board Care for the routine |